Your First Connection
Overview
Connections are the foundation of MCP Explorer. They define how to connect to MCP servers via different transports (stdio, HTTP, SSE) and authentication methods.
Creating a Connection
Step 1: Navigate to Connections
Click the 🔌 Connections tab in the navigation menu.
📸 Screenshot:
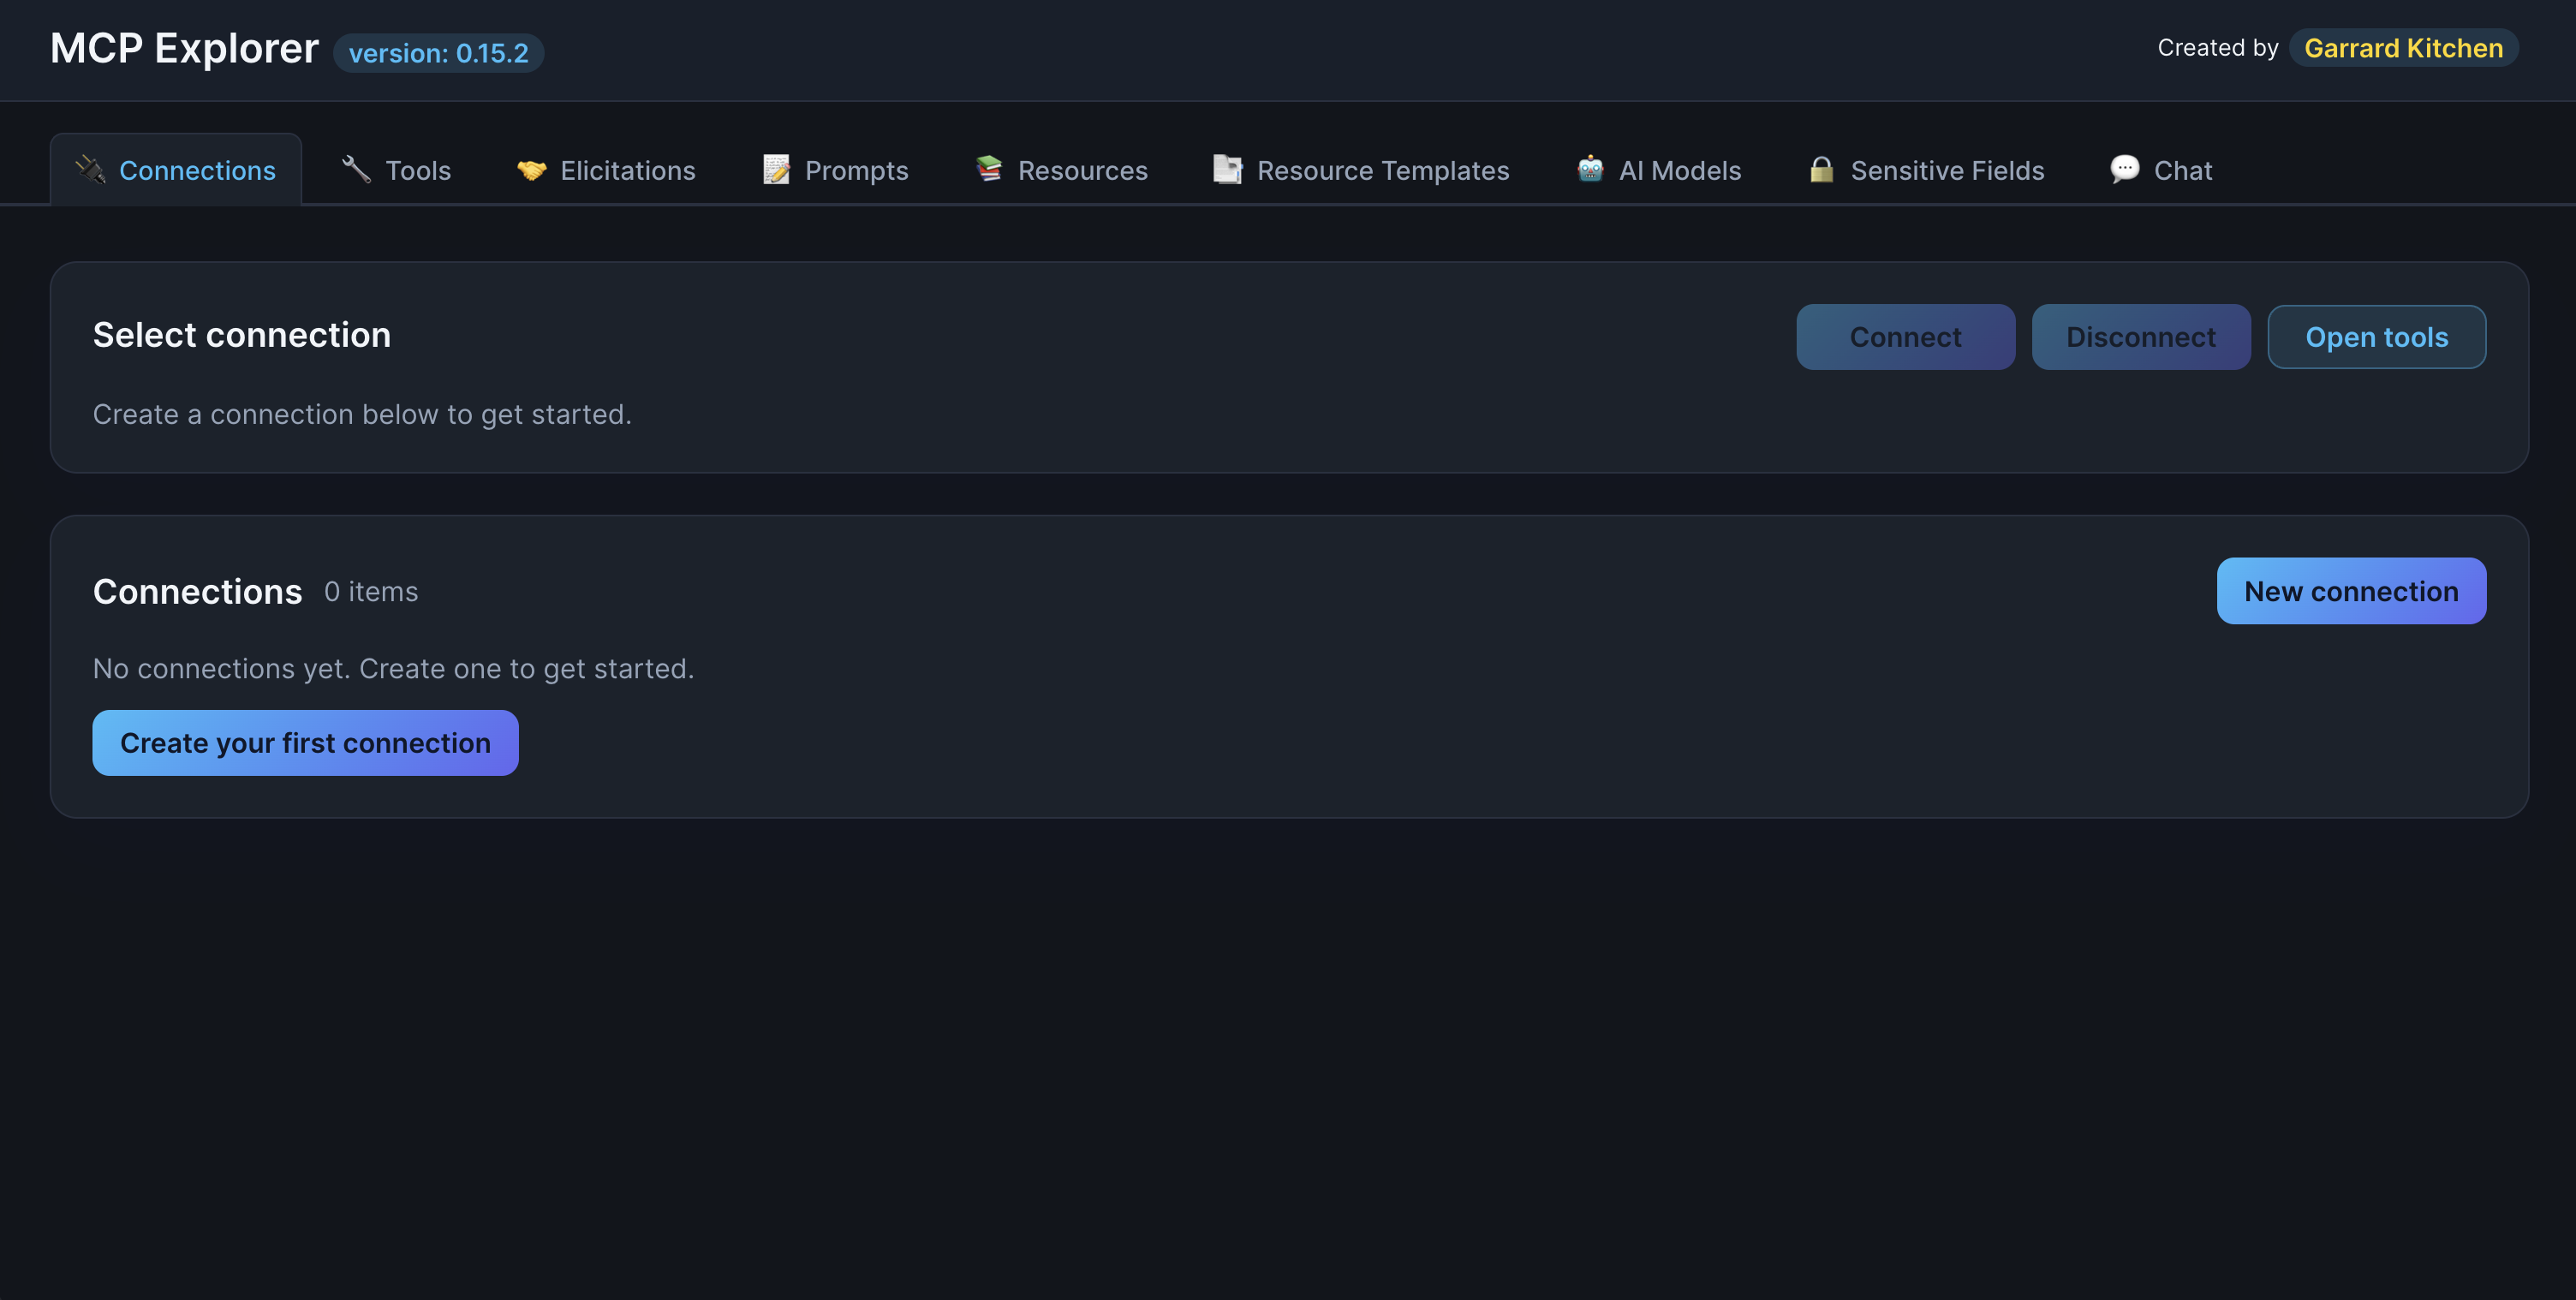
Description: Show the Connections page with the main interface, including the “Create your first connection” or “New connection” button and the search filter at the top
Step 2: Click “Create your first connection”
Click the Create your first connection button to open the connection form.
Step 3: Configure Basic Details
Fill in the connection details:
Name (Required)
A friendly name to identify your connection
- Example:
My First MCP Server,Weather API,Database Tools
Endpoint (Required)
The server connection string based on transport type:
For stdio:
stdio://path/to/your/server-executable
For HTTP:
http://localhost:3000
For SSE (Server-Sent Events):
http://localhost:3000/sse
Note (Optional)
Helper text or description for this connection
- Example:
Development server for testing weather tools
📸 Screenshot:
Description: Show the connection form with Name, Endpoint, and Note fields filled out with example data
Step 4: Choose Authentication Method
MCP Explorer supports two authentication approaches:
Custom Headers (Default)
Use this for API keys, Bearer tokens, or Basic auth.
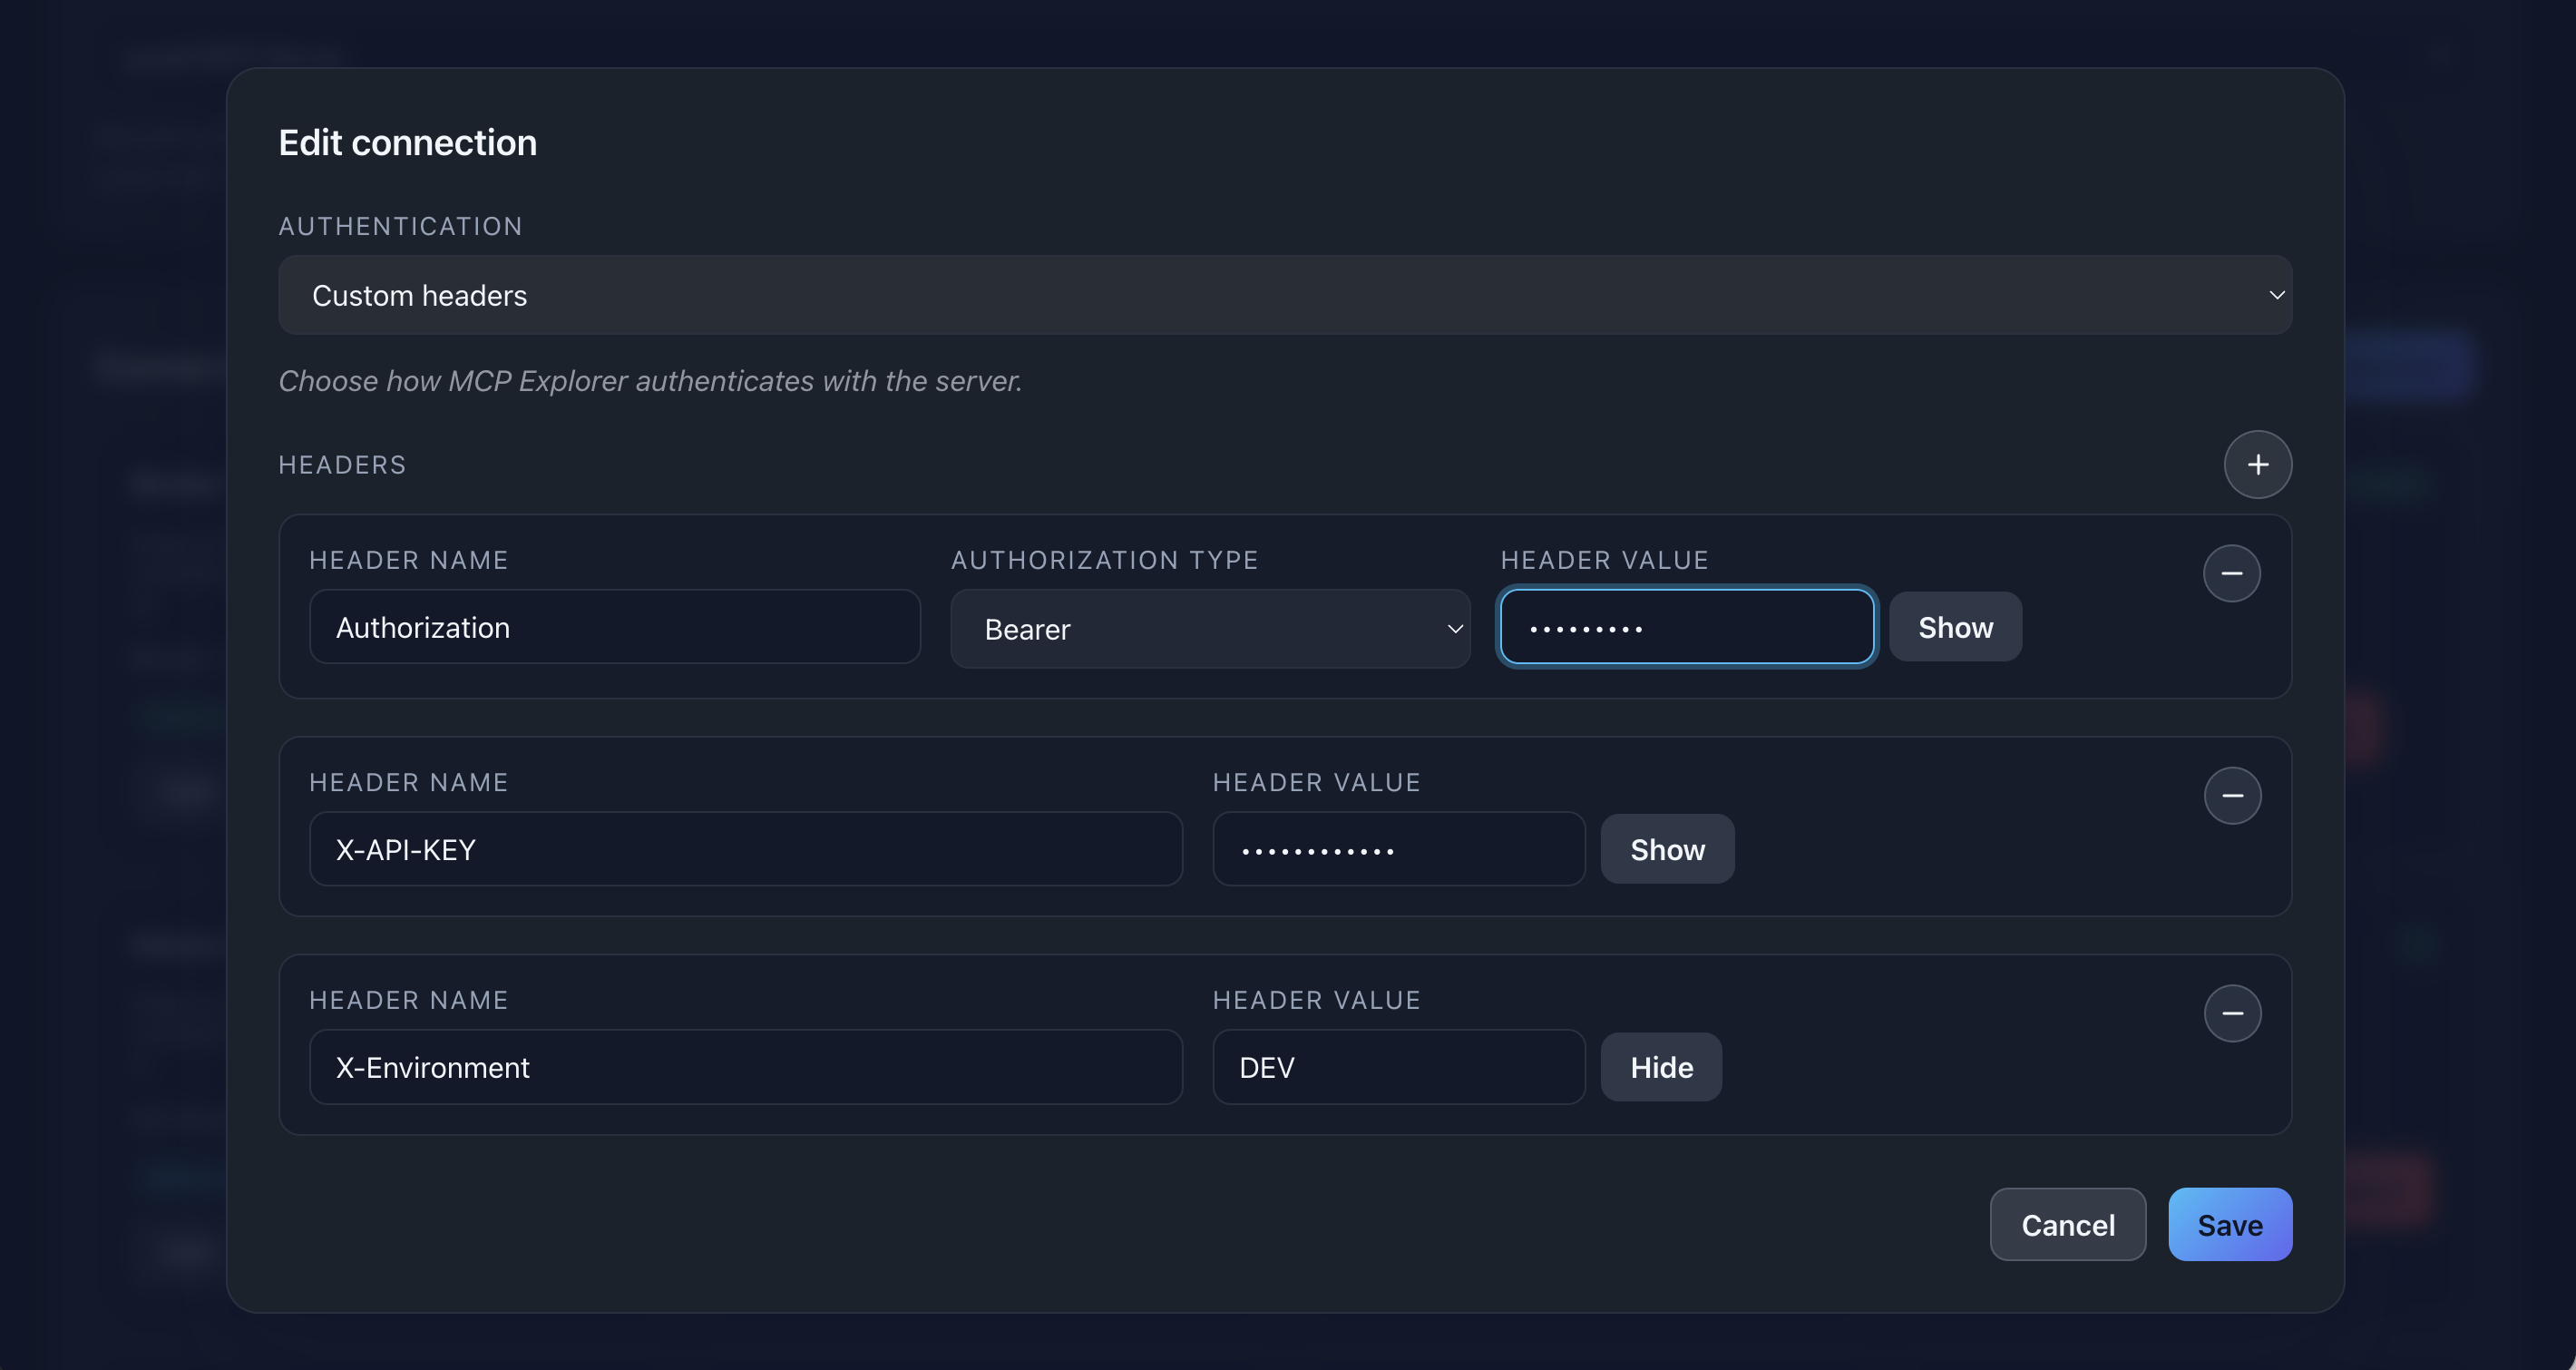
- Select Custom headers from the Authentication dropdown
- Click ➕ Add Header to add headers
- For each header, provide:
- Name:
Authorization,X-API-Key, etc. - Value: Your key or token
- Authorization Type (for Authorization headers): Choose
BearerorBasic
- Name:
Example headers:
| Name | Value | Type |
|---|---|---|
| Authorization | your-token-here | Bearer |
| X-API-Key | abc123xyz | (none) |
📸 Screenshot:
Description: Show the Custom Headers section with multiple headers added, including an Authorization header with Bearer type selected
Azure Client Credentials (Advanced)
Use this for Azure Entra ID (formerly Azure AD) authentication.
- Select Azure client credentials from the Authentication dropdown
- Fill in the required fields:
- Tenant ID: Your Azure tenant GUID
- Client ID: Application (client) ID
- Client Secret: The secret value
- Scope (optional): API scope (e.g.,
api://your-api/.default) - Authority (optional): Custom authority host
MCP Explorer automatically:
- Requests access tokens using your credentials
- Injects the token into Authorization headers
- Refreshes tokens when needed
📸 Screenshot:

Description: Show the Azure client credentials form with all fields filled (you can use placeholder values)
warning: Security Note: All secrets (API keys, client secrets, tokens) are encrypted using AES-256 and stored securely on disk.
Step 5: Save the Connection
Click Save to create your connection. You’ll see:
- The connection appears in the list
- An authentication badge showing the auth type (Custom headers or Entra)
- Connection status indicator
📸 Screenshot:
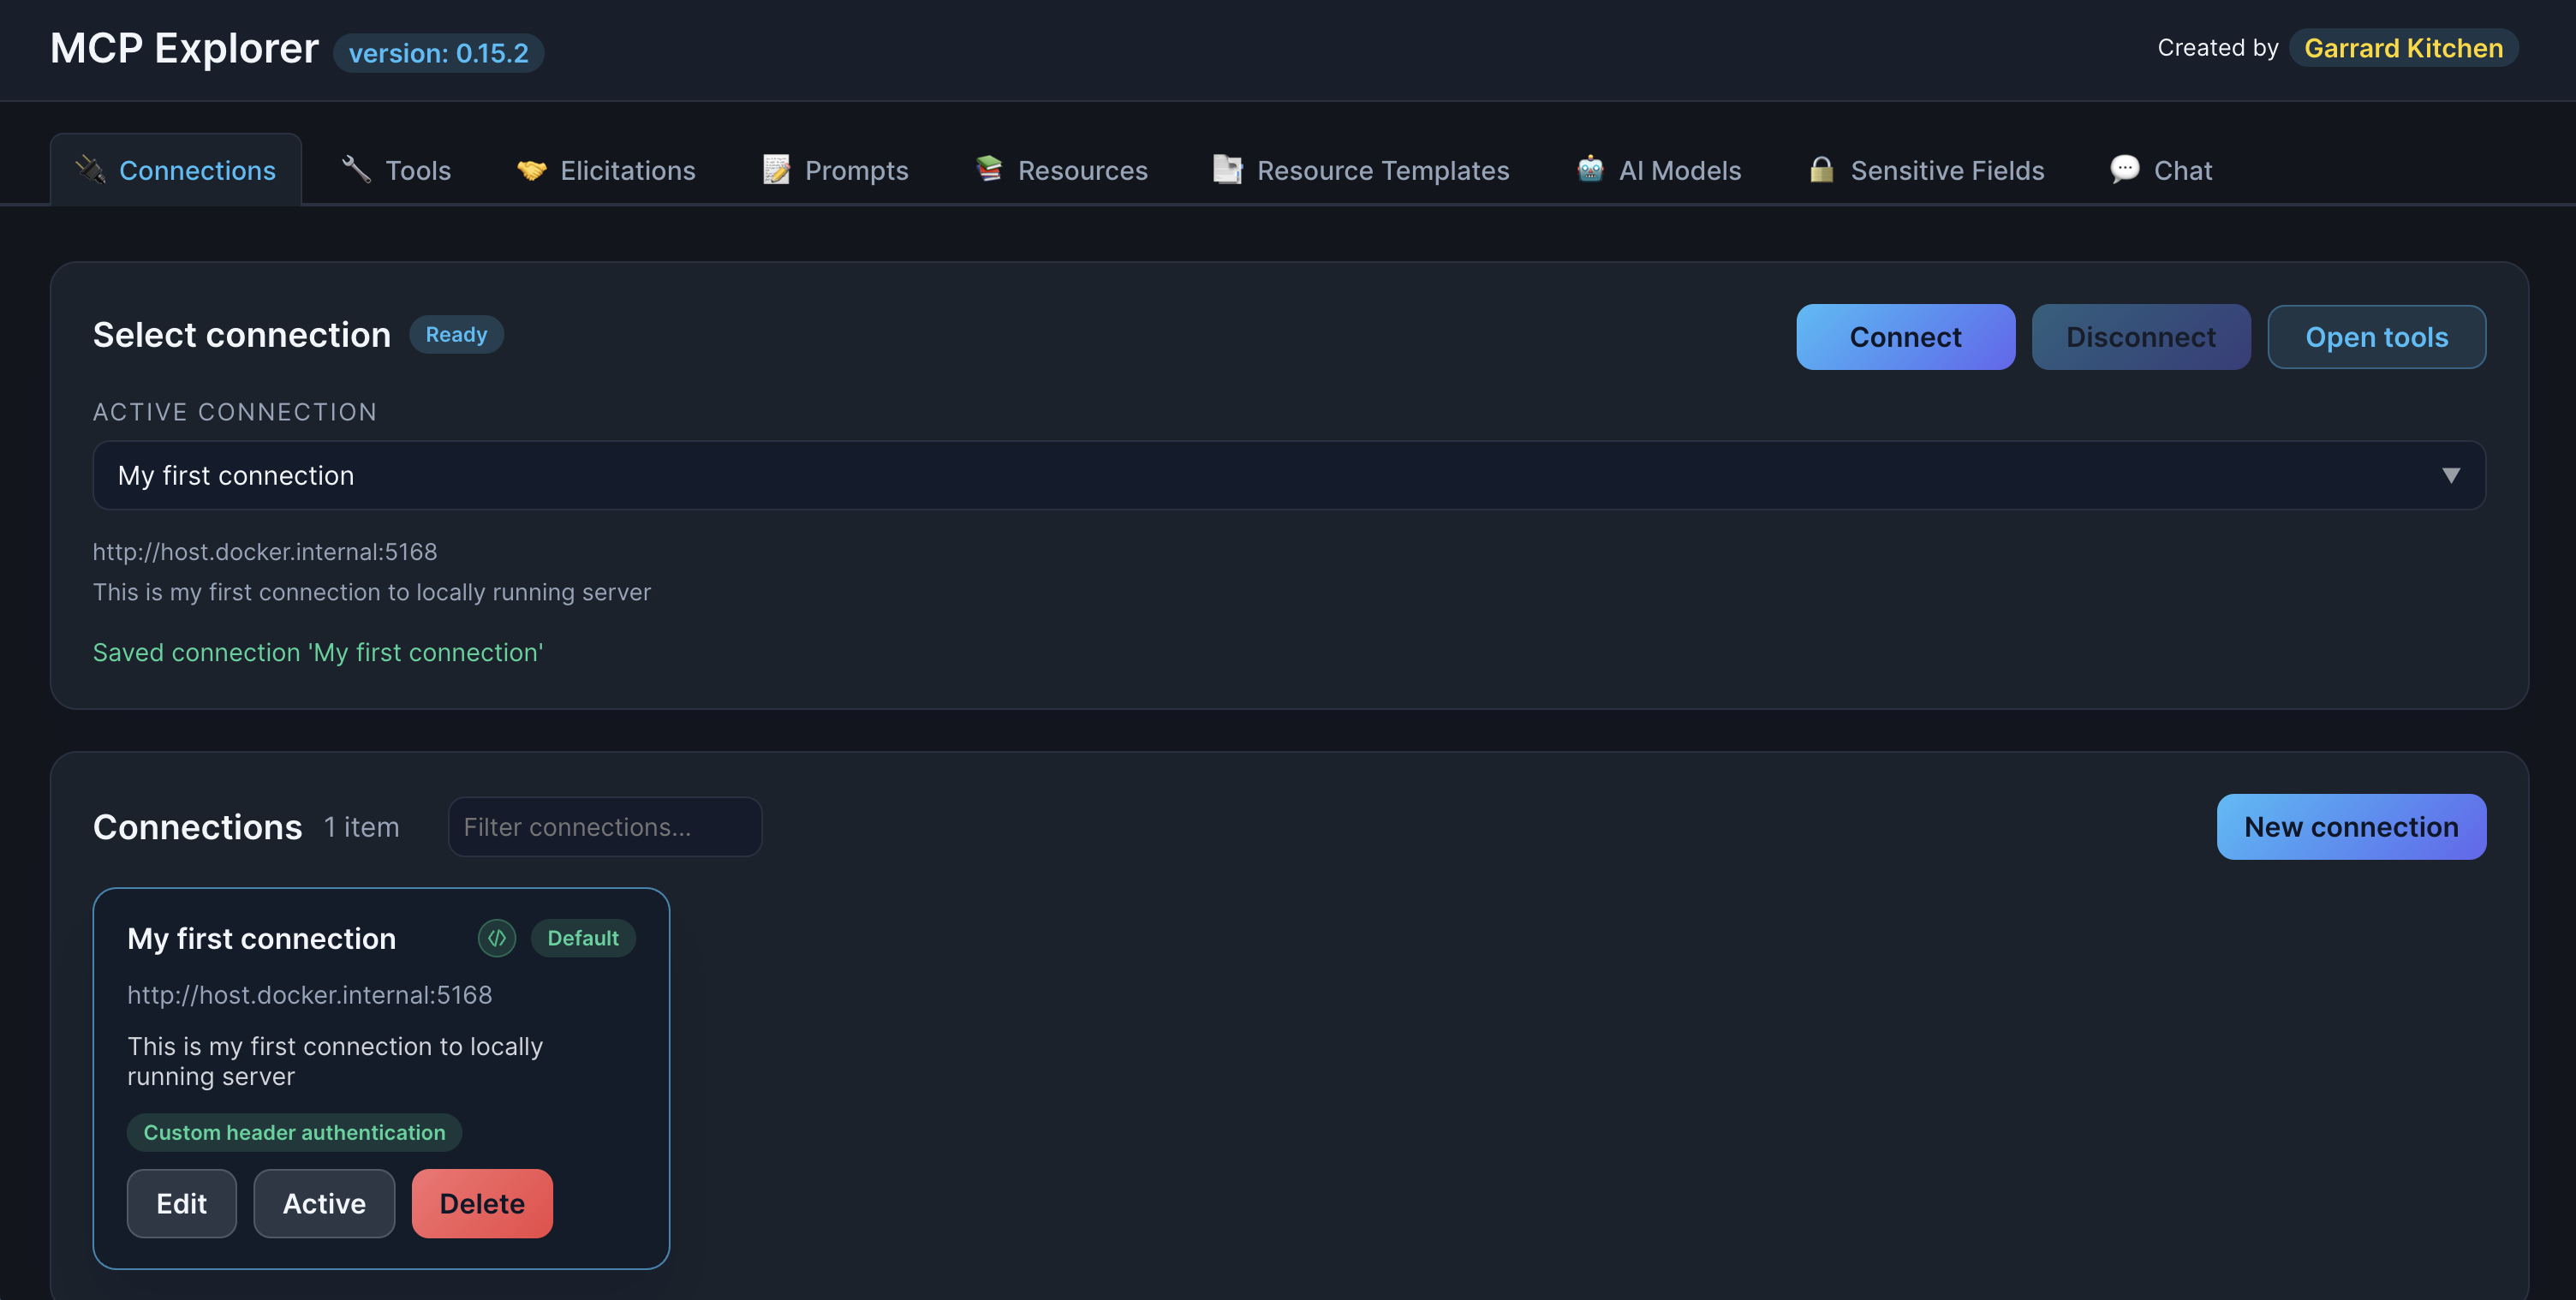
Description: Show the connections list with the newly created connection, highlighting the authentication badge
Testing Your Connection
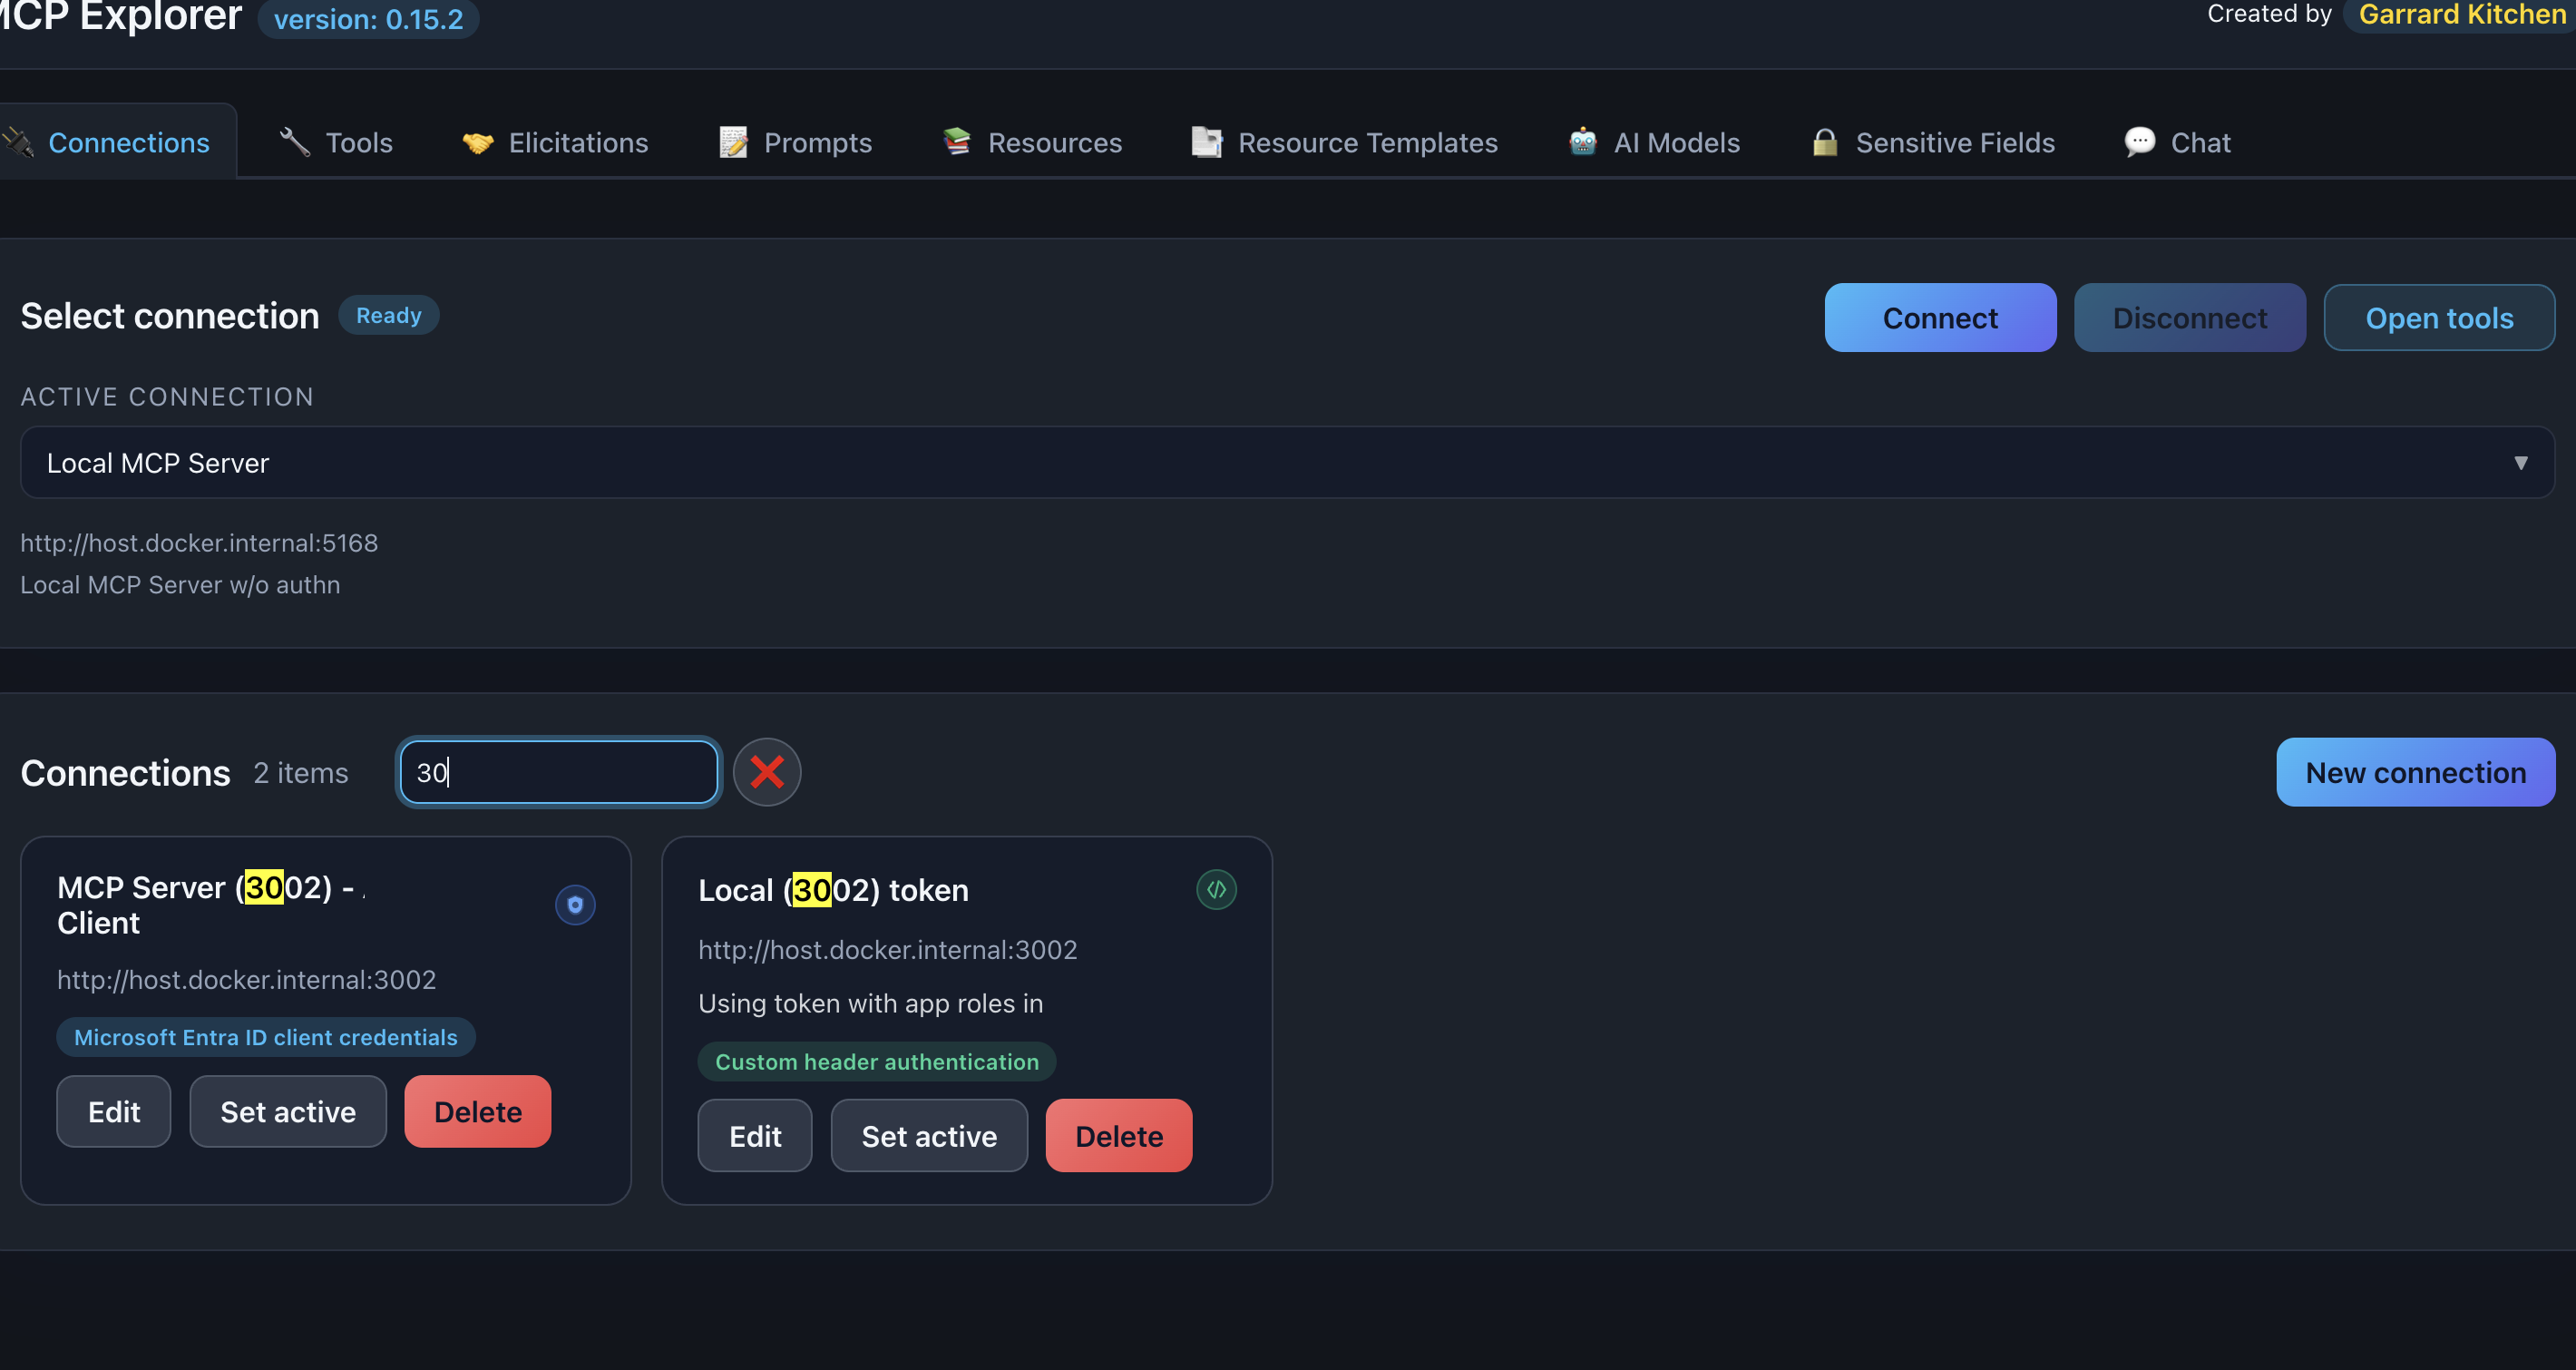
Connect to the Server
- Find your connection in the list
- Click the Connect button
- Watch the status indicator change:
- Connecting… (orange/yellow)
- Connected (green)
- Disconnected (red) - if connection fails
📸 Screenshot:
Description: Show a connection in “Connected” state with the green status indicator
Verify Connection
Once connected, you can:
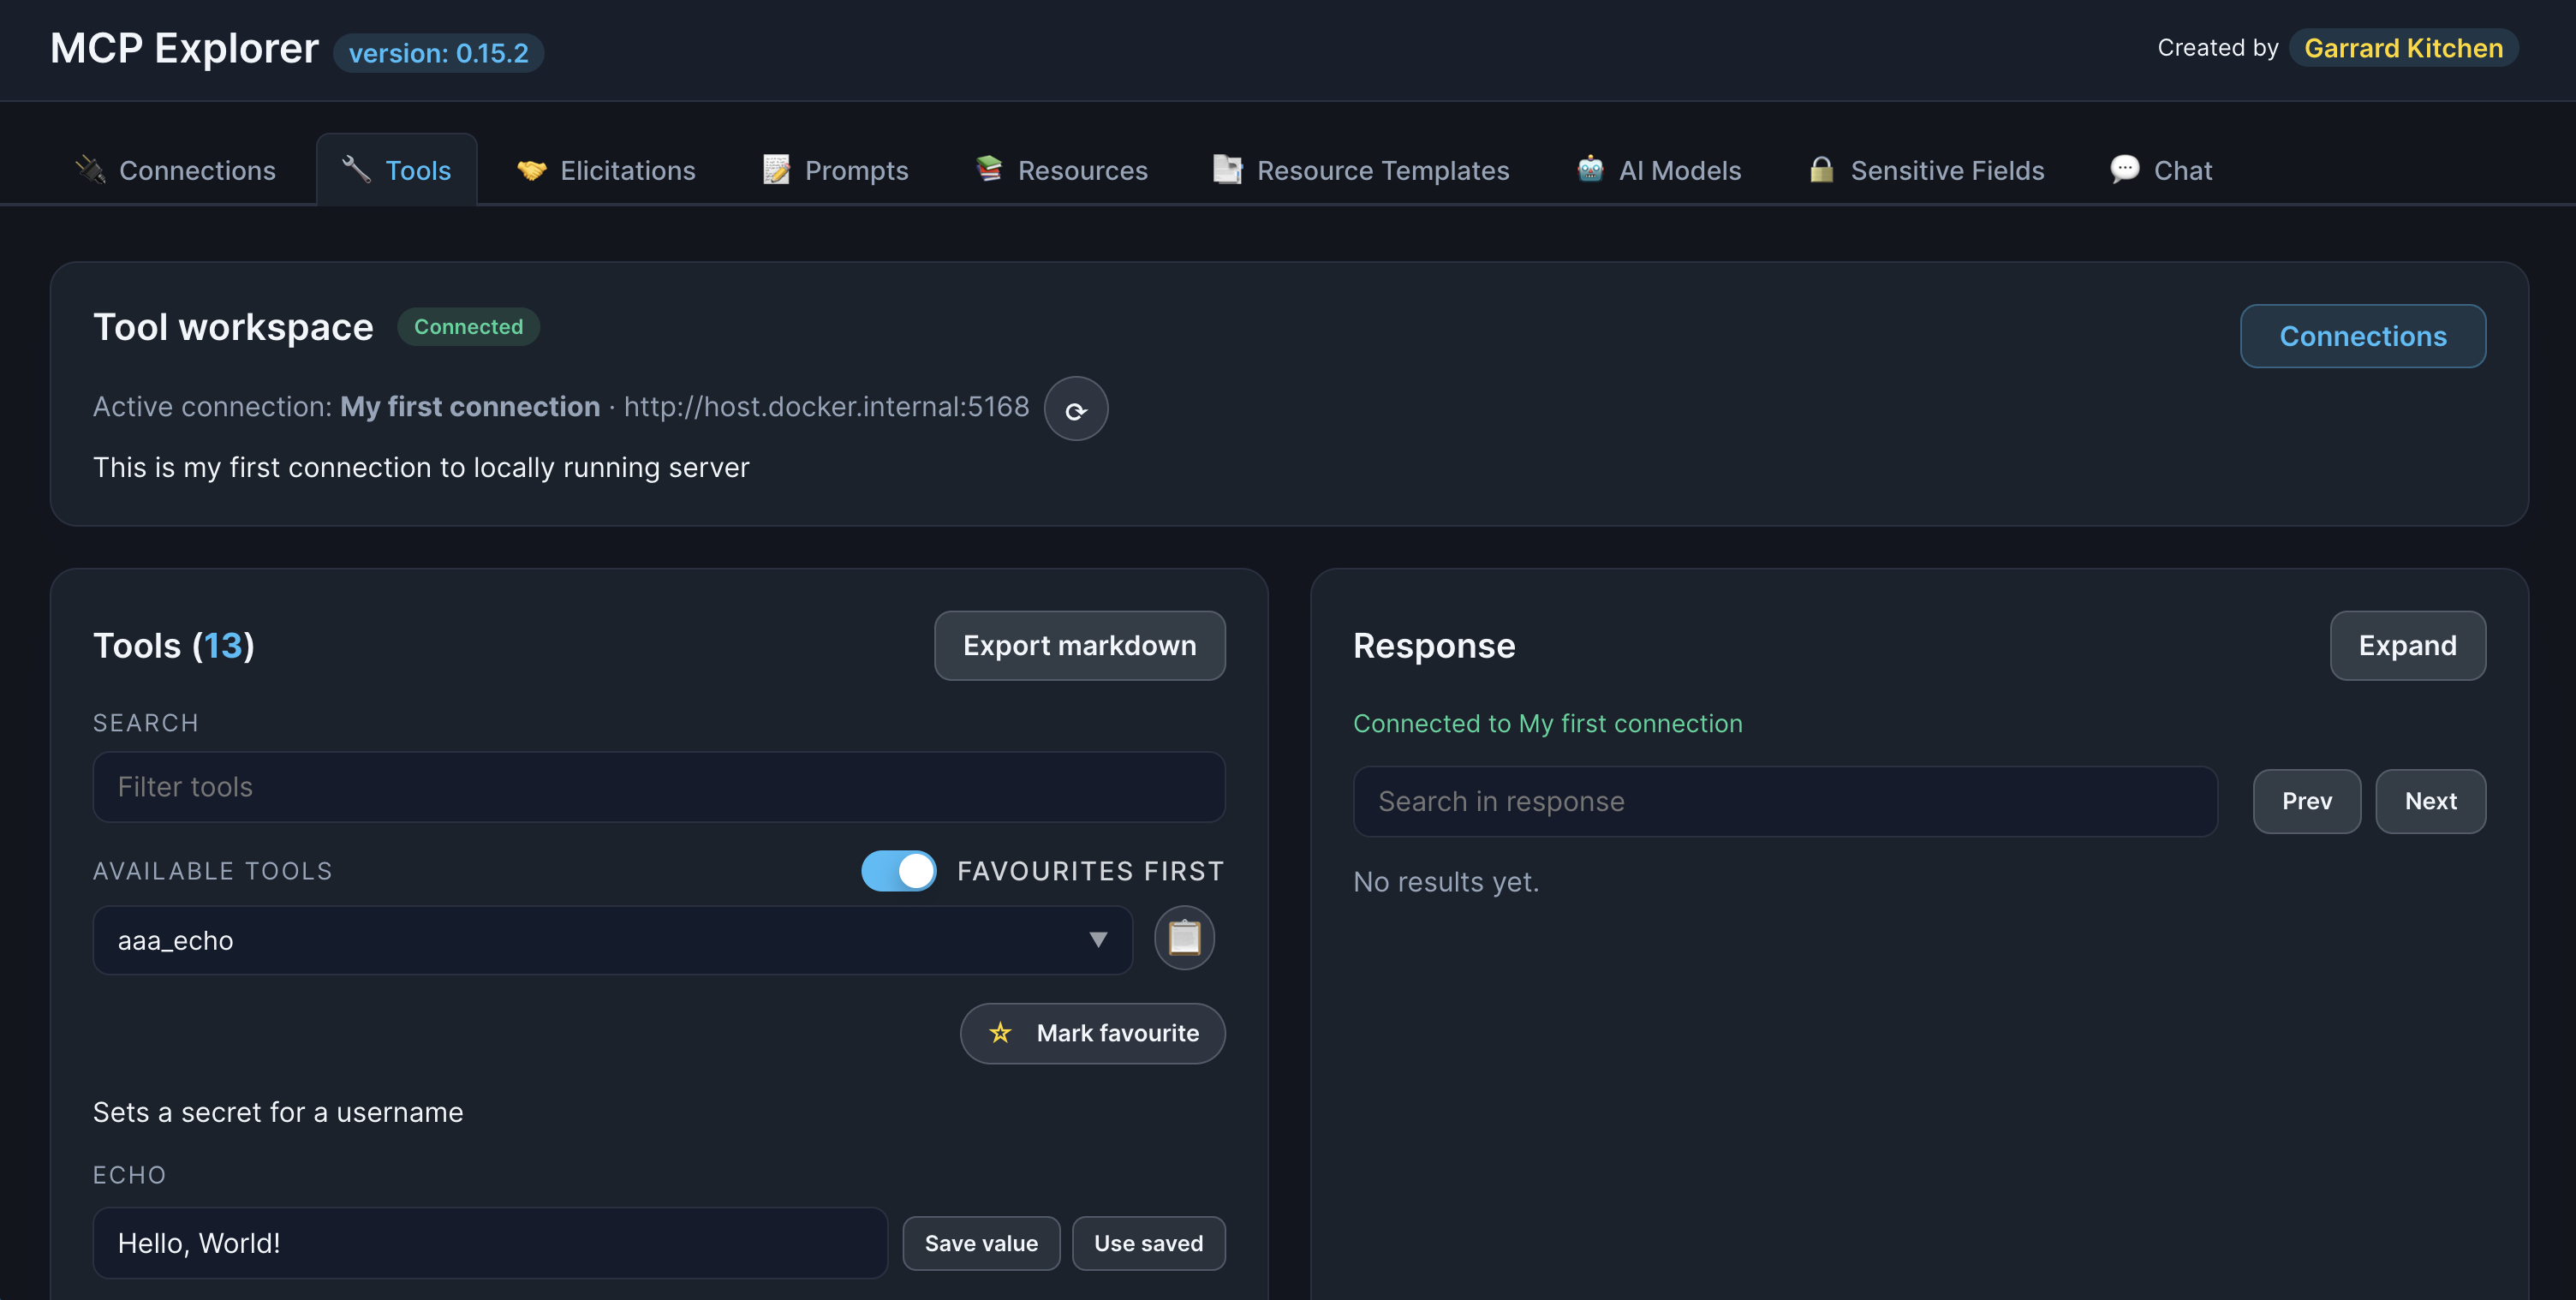
- Navigate to Tools tab to see available tools
- Navigate to Elicitations tab to see available resources
- Navigate to Prompts tab to see available prompts
- Navigate to Resources tab to see available resources
- Navigate to Resource Templates tab to see available resources
If tools/elicitations/prompts/resources/resource templates appear, your connection is working! 🎉
Connection Management
Search & Filter
Use the search box to quickly find connections:
- Search by name:
weather - Search by description:
development - Search by auth type:
entra,custom header
Keyboard shortcuts:
- Start typing to filter
- Escape to clear the filter
- Auto-focus when tab opens
📸 Screenshot:
Description: Show the search box with a search term entered and matching connections highlighted
Edit a Connection
- Click the Edit button (pencil icon) next to a connection
- Modify any fields
- Click Save
Delete a Connection
- Click the Delete button (trash icon)
- Confirm the deletion
warning: Warning: Deleting a connection also removes its history of parameter values and favorites.
Common Connection Patterns
Local stdio Server
  Name: Local Development Server
Endpoint: stdio:///usr/local/bin/my-mcp-server
Auth: None (Custom headers with no headers added)
HTTP API with Bearer Token
  Name: Production API
Endpoint: https://api.example.com
Auth: Custom headers
  - Authorization: your-api-key (Bearer)
Azure-Protected API
  Name: Azure MCP Service
Endpoint: https://your-api.azurewebsites.net
Auth: Azure client credentials
  - Tenant ID: <your-tenant-id>
  - Client ID: <your-client-id>
  - Client Secret: <your-secret>
  - Scope: api://your-api/.default
Next Steps
Related Pages
Troubleshooting
Connection Fails
Problem: Status shows “Disconnected” or error message
Solutions:
- Verify the endpoint URL/path is correct
- Check that the server is running
- Ensure authentication credentials are valid
- Review console logs for detailed error messages
Stdio Server Not Found
Problem: Error: command not found or similar
Solutions:
- Verify the full path to the executable
- Ensure the file has execute permissions
- Test the command in your terminal first
Authorization Failures
Problem: 401 Unauthorized or 403 Forbidden errors
Solutions:
- Verify API key/token is correct and not expired
- Check Authorization type (Bearer vs Basic)
- For Azure: Ensure client has proper app roles assigned
For more help, see the Troubleshooting Guide.